


5 min lectura
The Suitcase-Proof Manicure 2026: How it Withstands Planes, Beaches, and Pools
Does your nail polish chip on the second day of your vacation? It's not bad luck: it's just not d...
Las láminas de uña de gel están semicuradas al 60%, por lo que no deben exponerse a la luz directa del sol. Al igual que cualquier producto para uñas de gel, se recomienda mantener las láminas en su sobre mientras realizas tu manicura o pedicura. Esta precaución garantiza que las láminas conserven su adhesión y forma perfecta.
¿Por qué es importante? Si se exponen al sol, las láminas se curarán antes de tiempo, quedarán blandas y perderán su capacidad de adherirse. Recuerda que una vez curadas correctamente, siempre deben quedar duras.
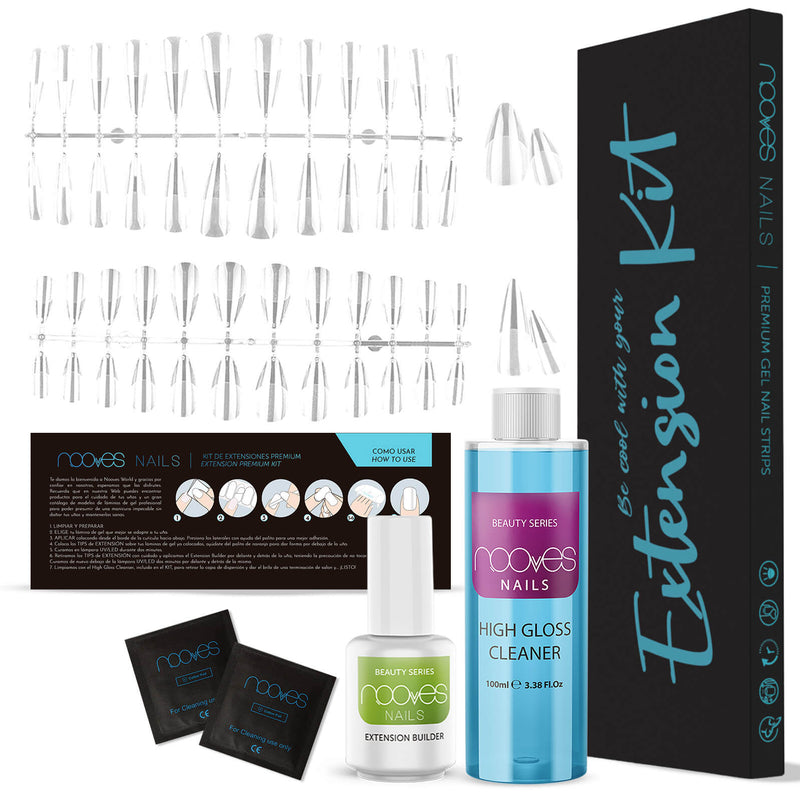
Los esenciales para un resultado profesional
Respuestas rápidas a tus dudas sobre las láminas de uñas semicuradas NOOVES
Despeja tus dudas sobre la manicura en casa definitiva. Descubre por qué nuestras láminas son seguras, duraderas y la alternativa saludable al salón.
Nuestras láminas de gel semicurado están diseñadas para durar entre 2 y 3 semanas (+14 días) intactas. Al curarse bajo lámpara UV, la fórmula se endurece creando un escudo resistente a golpes y rayaduras, muy superior a las pegatinas convencionales.
¡Sí, son ideales! A diferencia del acrílico, no requieren limado agresivo de la uña natural. Actúan como una capa protectora que permite que tu uña crezca sana y fuerte debajo, evitando que te las muerdas o se rompan.
Solo necesitas nuestro Kit de Inicio (que incluye lima y palito) y una lámpara UV/LED. Es un proceso de 3 pasos: pegar, cortar y curar (60 segundos). Sin olores fuertes ni tiempos de secado largos.
Tu salud es prioridad. Nuestras láminas son 100% HEMA-Free, 10-Free, Veganas y Cruelty-free. Formuladas para minimizar alergias y proteger la integridad de tu uña natural.
Por supuesto. Tenemos diseños específicos para pies o puedes adaptar los de manos. El resultado en pedicura suele durar incluso más (hasta 4 semanas) ya que las uñas de los pies crecen más lento y sufren menos impactos.
Olvídate del torno y la acetona pura. Simplemente aplica nuestro Aceite Removedor (o aceite de cutículas), espera unos segundos y levanta suavemente la lámina con el palito de naranjo. Sale entera sin arrancar capas de tu uña.
Consigue uñas perfectas sin esfuerzo. Nuestras láminas de gel ofrecen una aplicación sencilla, resultados duraderos y una amplia variedad de diseños. Completamente veganas y libres de sustancias dañinas, son perfectas para cuidar tus uñas mientras luces una manicura impecable en cualquier momento.


Tu carrito está vacío
VER TODOS LOS DISEÑOS